Download your audio or video project
Last updated: September 7, 2026
This article explains how to export your Wondercraft project as an audio or video file.
Download an audio project (mp3 or wav)
To export a finished audio project:
Open the project in the editor
Click Export in the top right corner
Choose your format, bitrate, channels etc.
Click Export.
If that is greyed out, press on View more to find out more about the error blocking export.
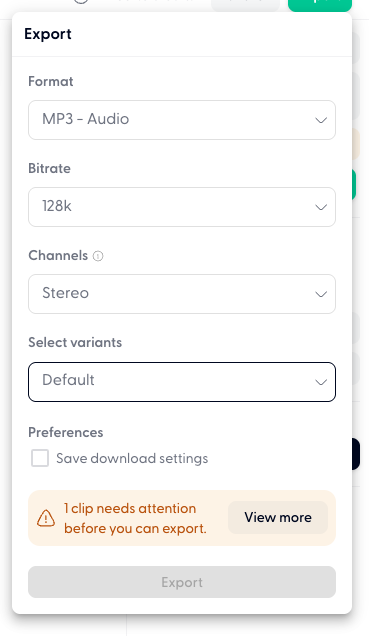
If that is greyed out, press on View more to find out more about the error blocking export. A common error is some clips are generated.
Download a video project (720p, 1080p, or 4k)
To export a finished video project:
Open the project in the editor
Click Export in the top right corner
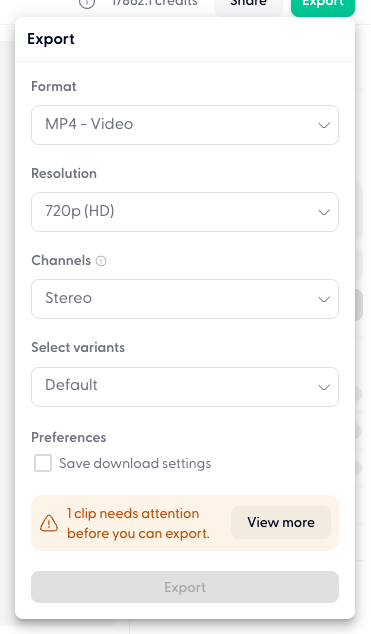
Choose your resolution.
When you export in a higher resolution, we would offer to upscale the visual assets that are lower resolution. You can choose the assets you wish to upscale, or skip upscaling them.
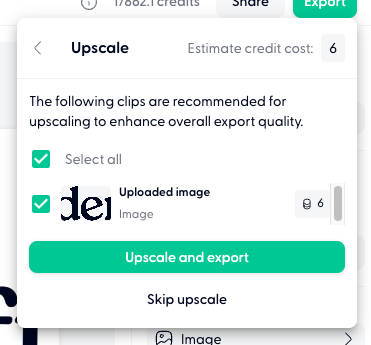
Click Export.
If that is greyed out, press on View more to find out more about the error blocking export. A common error is "clip needs attention," which occurs when avatar video clips don’t match the speech duration in your segments. This typically happens when you edit the script after the avatar video has already been placed in the timeline, causing the avatar clip length and speech duration to drift apart.
Troubleshooting avatar export errors
If you see an “Export blocked: character missing” error in avatar projects, this is often caused by special characters (™ or ®) or extra spaces in your script. Although these characters aren’t spoken in the audio, they’re still counted by the avatar system, causing the avatar video and audio to become misaligned.
To fix this:
Check your script for special symbols (™ or ®) or unnecessary spaces.
Remove any special characters or extra spaces found.
Re-add the avatar video from the History panel rather than generating a new one. This resolves the sync issue without using additional credits.
Locate a past downloaded file
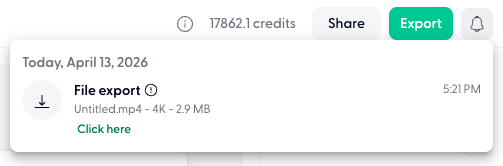
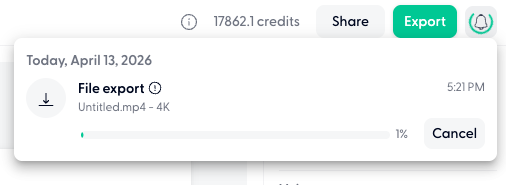
All past exports can be found under the bell icon in the top right corner of the editor. Press Click here to trigger a manual download, or you can't find the downloaded file on your computer.
Cancel a download
Open the bell icon in the top right corner of the editor, and press on Cancel on the specific export attempt.
Troubleshooting Audio Generation Issues Before Export
When Credits Are Used But No Audio Is Playable
Refresh the page: Reload the page (Cmd/Ctrl + R) and try playing the audio again.
Check browser extensions: Disable any ad‑blocker extensions that might interfere with playback.
Verify generation status: Look for a Generate button for new clips or Regenerate for edited clips to confirm audio was actually created.
Ensuring Script Changes Are Reflected in Export
If you made any changes to your script after the initial generation (such as adding new text, disclaimers, or conversations), click the Generate convo button again and wait for it to finish generating before proceeding to export. The downloaded audio will only reflect the most recently generated version, not any ungenerated changes.
Fixing Audio Cut‑Off Issues
Identify the paragraph where the audio has been cut off.
Make a small change to that paragraph (add a space, change punctuation, or change capitalization). Every clip has 2 times free regeneration, if changes is within 25 characters or just change voice.
The paragraph will be marked as “Marked for regeneration” in the top right corner.
Repeat for any other paragraphs with cut‑off audio.
Click the orange Generate changes button on the timeline (not the grey “Generate convo” button) to regenerate only the edited paragraphs.
Note: The “Generate changes” button only regenerates audio for paragraphs you’ve edited, while “Generate convo” regenerates the entire script. Using “Generate changes” saves credits when fixing specific audio issues.
Pre‑Export Script Cleanup
Remove any empty clips/paragraphs and extra spaces in the script before export. Empty spaces or segments can cause audio generation issues and should be removed before export.
Watermark for free user
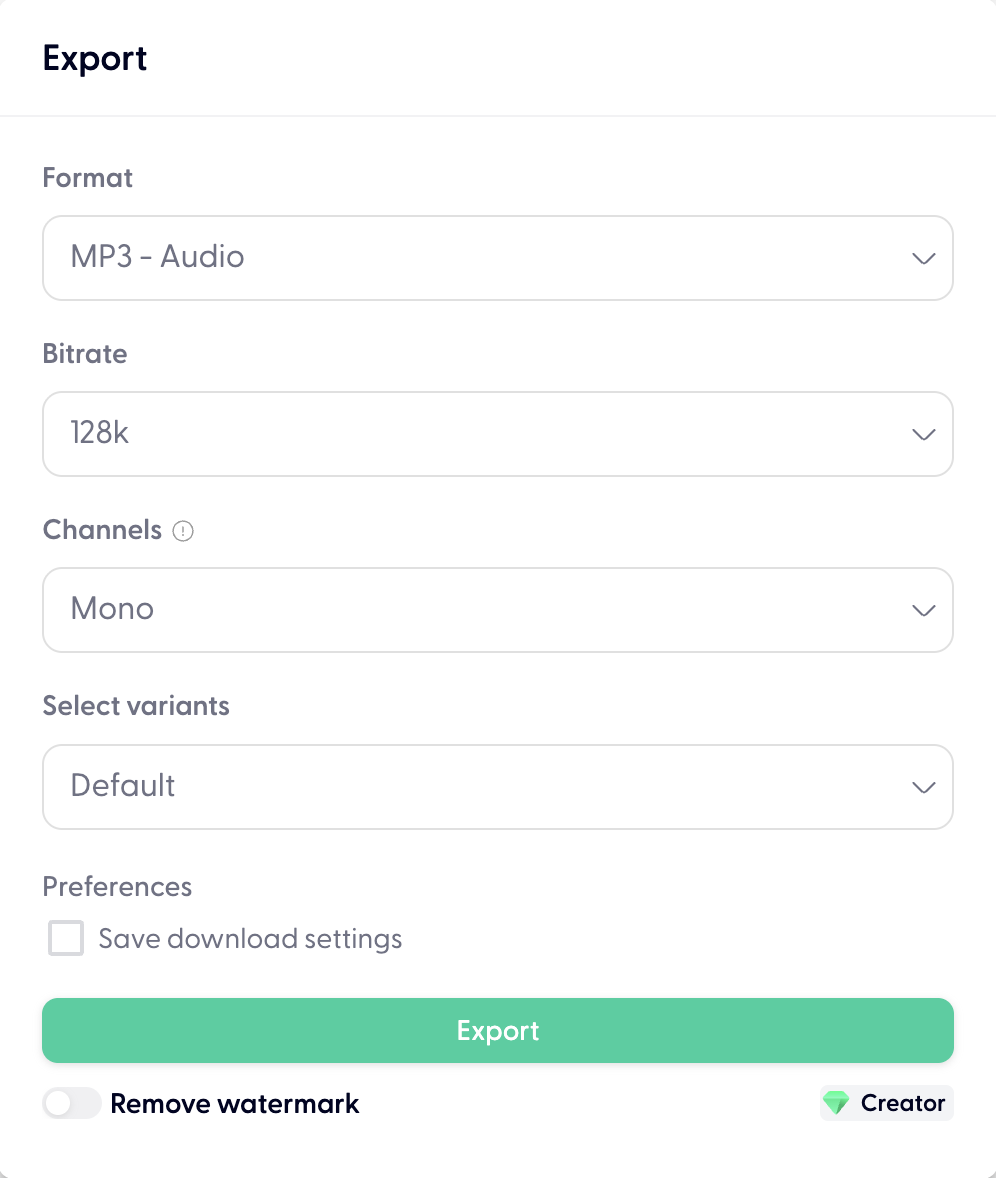
There will be water in your exported audio/ video if you are on free tier, upgrade to paid plan to remove watermark.