Create a new workspace
Last updated January 18, 2025
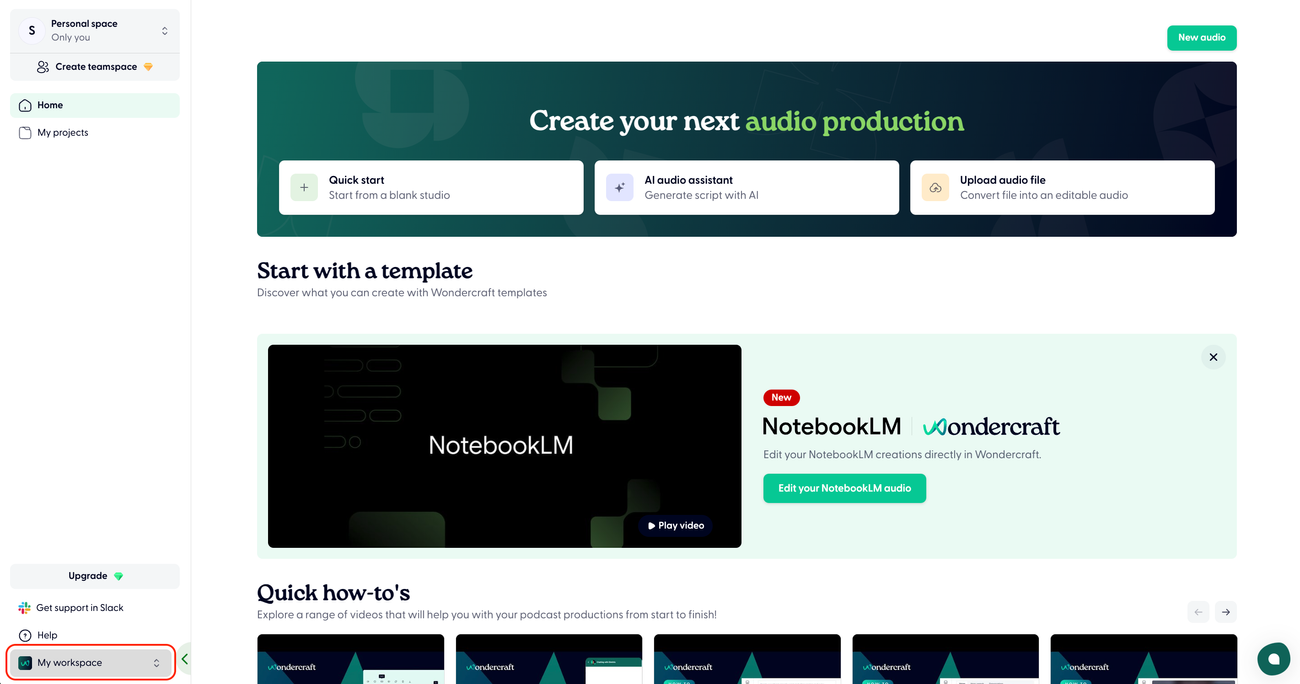
- Go to wondercraft.ai/studio and click on My workspace in the bottom left corner.
- Click on Add a workspace. Subscribe to a Pro plan if you haven't done so already.

- Name your new workspace/organization.

- Create a teamspace within this workspace where members will be collaborating from. You can set the teamspace to Public or Private.
- Public: Any workspace member can find and join this teamspace.
- Private: Only specified members can find and join this teamspace.

- Add members to your teamspace and specify their roles. You are automatically a Director of this teamspace.
- Director: Can manage teamspace settings and members
- Editor: Can create, edit and share files
- Commenter: Can view and comment on files

- You have now created a workspace and automatically become the Owner of the workspace.